- A+
个人博客-首页排版优化-2
原本这篇文章早就要出了的,结果之前买的服务器服务商跑路了,导致博客的数据缺失了部分。我是买了一年的服务器,然后用了3个月,国内跑路云太多了,然后也是花钱重新去别的服务商买了一台服务器,这次只买了一个月,先试试水。
优化计划
本篇文章优化历史文章
实现思路
页面数据代码
public async Task<IActionResult> Index() { HomeViewModel homeView = new HomeViewModel() { FeaturedPhotos = _fPhotoService.GetFeaturePhotos(), FeaturedCategories = _fCategoryService.GetFeaturedCategories(), TopPost =await _TopPostService.GetTopOnePostAsync(), FeaturedPosts = await _PostService.GetFeaturedPostsAsync(new QueryParameters { Page = 1, PageSize = 8, }), Links = await _linkService.GetAll(), Notices = await _noticeService.GetAllAsync(), HomePost = await _articelsService.HomePostAsync(), }; return View(homeView); } 把FeaturedPosts中的PageSize参数8改为4,让推荐文章只展示4个,然后新增历史文章,也就是全部文章。
代码实现
接口与实现类
看过之前文章的应该知道之前分页用的是插件,但是那个插件分页需要把数据库的内容全部查询出来,然后再分页,非常影响性能。考虑到博客长期的发展,也是用Skip和Take关键字去进行分页,使用这两个关键字的好处是不会把数据从数据库全部拿去来,而是在查询的时候就对数据进行分页查询,我需要多少数据就拿多少数据,这样做大大减少了服务端的压力。
- Skip属性:Skip属性用于跳过指定数量的元素,返回剩余的元素。它接受一个整数参数,表示要跳过的元素数量。例如,如果有一个包含10个元素的集合,使用Skip(5)将跳过前5个元素,返回后面的5个元素。
- Take属性:Take属性用于获取指定数量的元素。它接受一个整数参数,表示要获取的元素数量。例如,如果有一个包含10个元素的集合,使用Take(5)将返回前5个元素。
下面代码返回值是一个元组包含(List
, PaginationMetadata),PaginationMetadata是一个分页信息类,在现在这个场景其实是不需要这个类的,可以做下处理,也可以不做处理,没有影响。
Task<(List<Post>, PaginationMetadata)> GetAllPostsAsync(QueryParameters param); public async Task<(List<Post>, PaginationMetadata)>GetAllPostsAsync(QueryParameters param) { var querySet = _myDbContext.posts.AsQueryable(); var posts = await _myDbContext.posts .OrderByDescending(o => o.CreationTime) .Include(p => p.Categories) .Include(p => p.Comments) .Skip((param.Page - 1) * param.PageSize) .Take(param.PageSize) .ToListAsync(); var pagination = new PaginationMetadata() { PageNumber = param.Page, PageSize = param.PageSize, TotalItemCount = await querySet.CountAsync() }; return (posts, pagination); } 控制器
给HomeViewModel类添加AllPosts属性
public (List<Post>, PaginationMetadata) AllPosts { get; set; } 然后在控制器方法中调用查询数据的实现方法
public async Task<IActionResult> Index() { HomeViewModel homeView = new HomeViewModel() { ...... AllPosts = await _PostService.GetAllPostsAsync(new QueryParameters { Page = 1, PageSize = 8, }) }; return View(homeView); } 接下来就是Razor页面的代码了
直接把之前推荐文章页面的代码copy过来就好了,只需要修改model的类型为(List<Personalblog.Model.Entitys.Post>,PaginationMetadata),可以看到实际上只需要Post列表就能完成想要的效果。
AllPostCard.cshtml
@model (List<Post>,PaginationMetadata) @foreach (var post in @Model.Item1) { <div class="col-md-6 box"> <div class="row g-0 border rounded overflow-hidden flex-md-row mb-4 shadow-sm h-md-250 position-relative"> <div class="col p-4 d-flex flex-column position-static"> <strong class="d-inline-block mb-2 text-primary">@post.Categories.Name</strong> <h5 class="mb-0">@post.Title</h5> <div class="mb-1 text-muted d-flex align-items-center"> <span class="me-2">@post.LastUpdateTime.ToShortDateString()</span> <div class="d-flex align-items-center"> <i class="bi bi-eye bi-sm me-1"></i> <span style="font-size: 0.875rem;">@post.ViewCount</span> </div> <span style="width: 10px;"></span> <!-- 这里设置了一个 10px 的间距 --> <div class="d-flex align-items-center"> <i class="bi bi-chat-square-dots bi-sm me-1"></i> <span style="font-size: 0.875rem;">@post.Comments.Count</span> </div> </div> <p class="card-text mb-auto">@post.Summary.Limit(50)</p> <a class="stretched-link" asp-controller="Blog" asp-action="Post" asp-route-id="@post.Id"> Continue reading </a> </div> <div class="col-auto d-none d-lg-block"> <img class="bd-placeholder-img" alt="" style="width:200px;height: 250px" src="@Url.Action("GetRandomImage", "PicLib" ,new { seed = post.Id,Width = 800, Height = 1000})"> </div> </div> </div> } js代码
然后也是和之前一样,写一个返回布局页的代码,用ajax请求就行了
.NET6 个人博客-推荐文章加载优化 - 妙妙屋(zy) - 博客园 (cnblogs.com) https://www.cnblogs.com/ZYPLJ/p/17495172.html
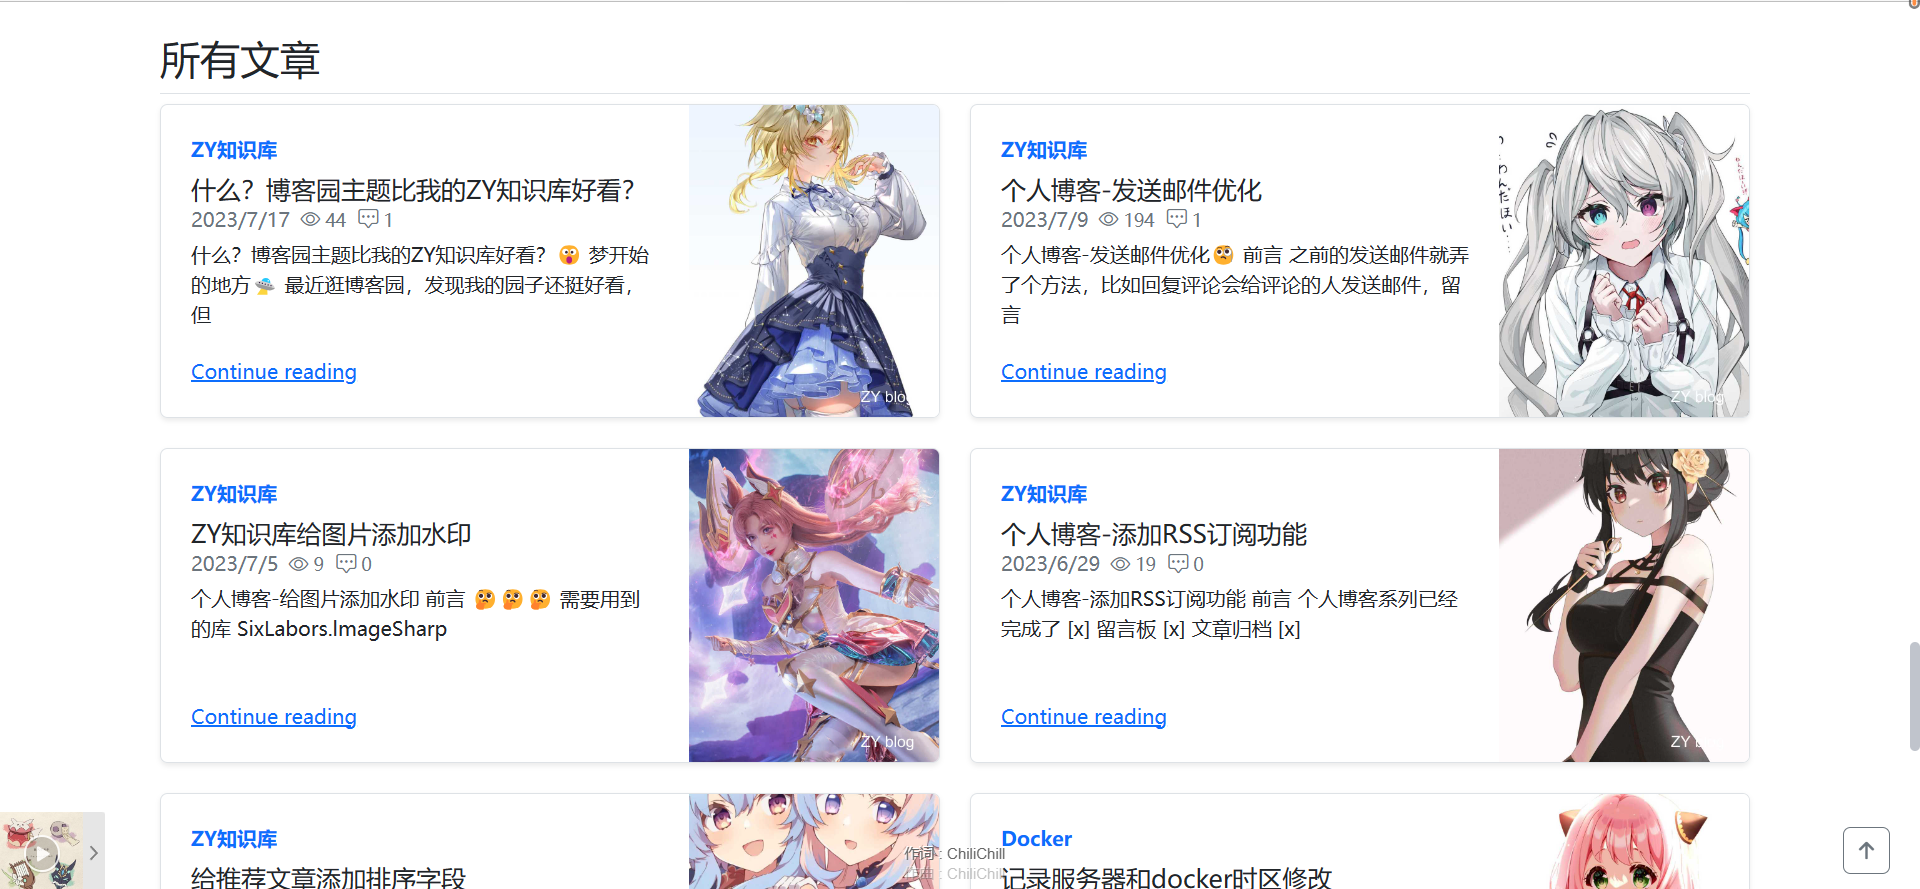
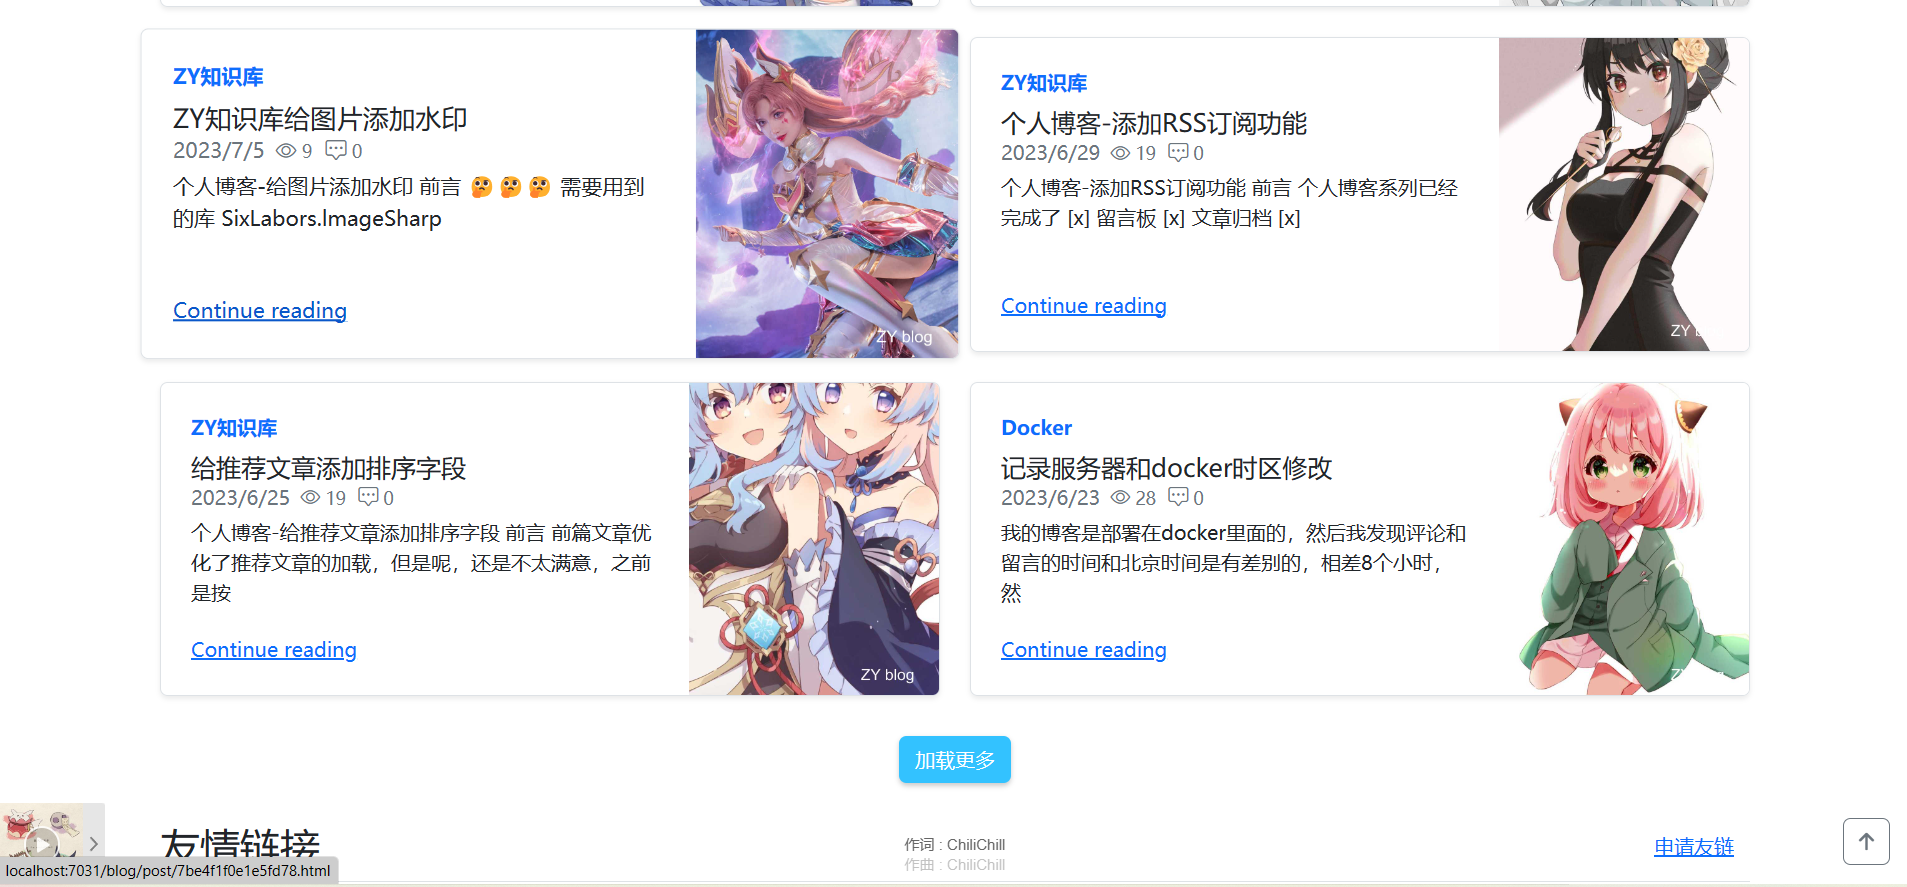
效果展示