- A+
所属分类:linux技术
Git和Gitlab使用
前言
版本控制概念:记录开发文件的时间机器
分类:1.本地版本控制系统、2.集中化的版本控制系统CVS、Subversion(SVN)、3.分布式版本控制系统GIT
产品:github、git、gitlab
Gitlab部署
1.介绍
git是一个分布式的代码版本管理软件,而 gitlab, gierrit, github都是git作为基础扩展其他功能开发而来,支持网页web访问,有了这个gitlab或者gerrit、github,我们可以通过网页访问。而gitlab上传的项目都是不开源的,属于企业内部的代码,也是需要企业内部得个人账号才可以登录进去,和同事进行并行开发,提高工作效率。
2.下载
先创建一个目录用来存放下载的安装包
mkdir /gitlab gitlab官网下载 这里下载的版本是最新的16.2.4

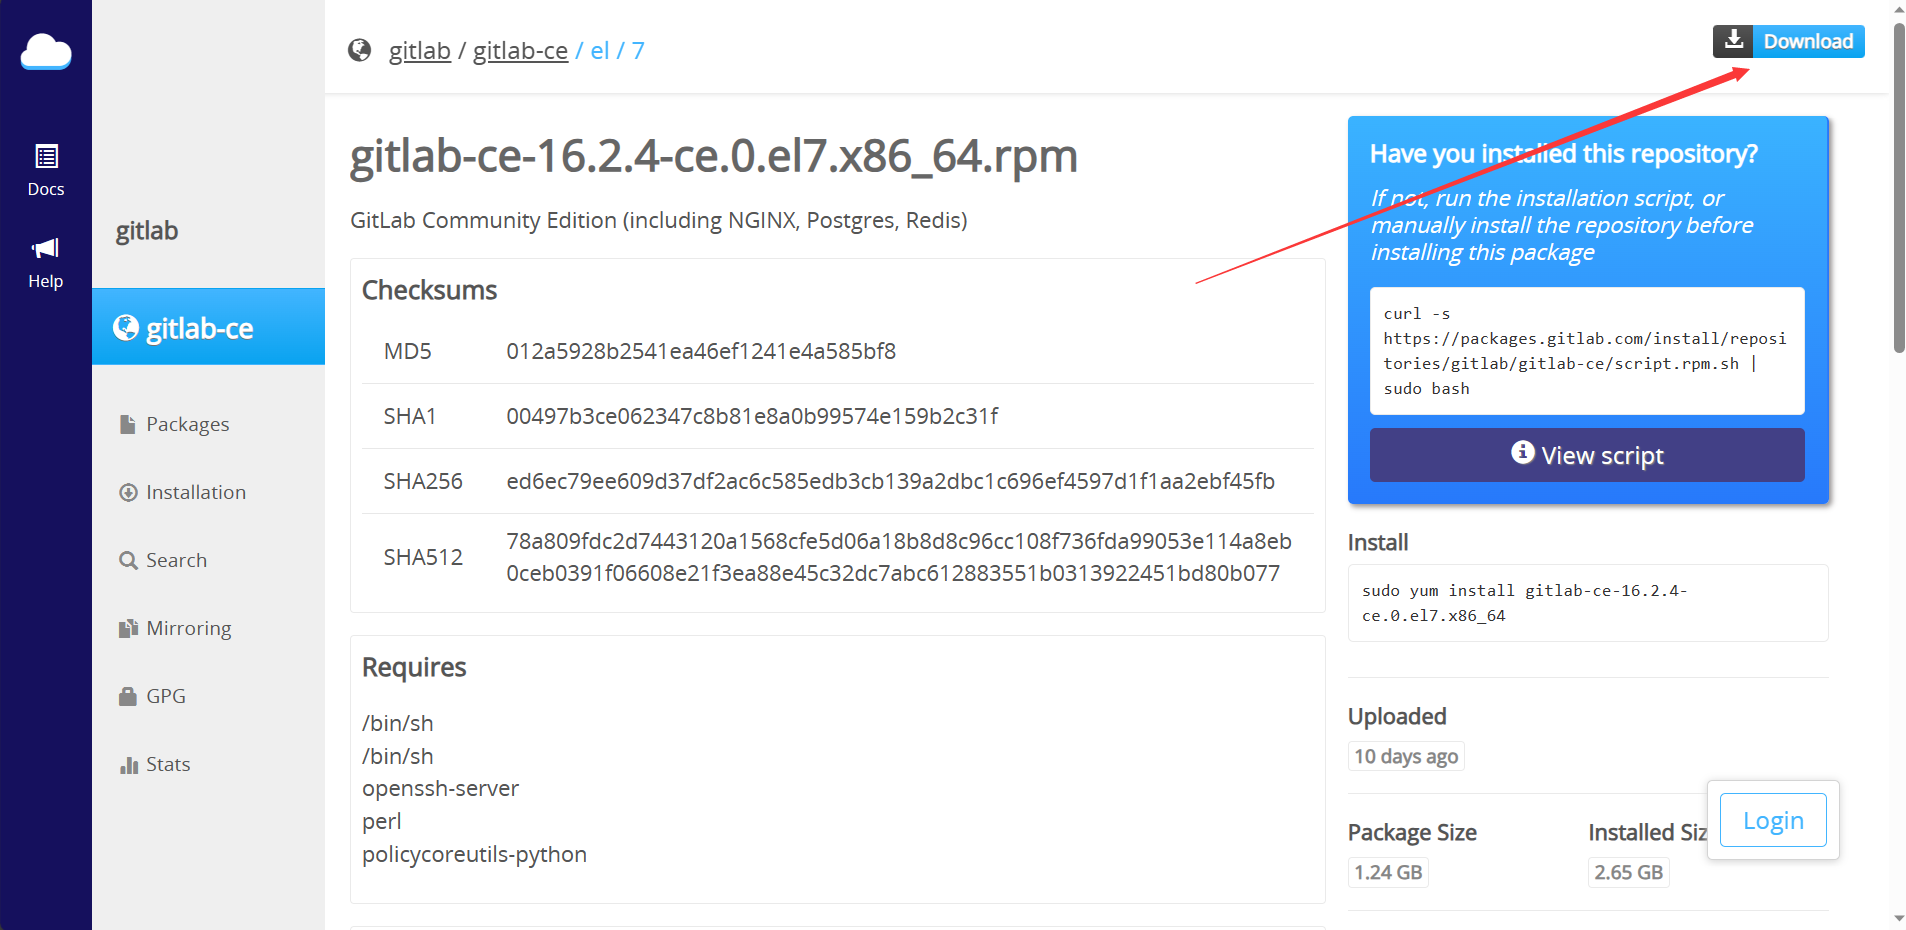
找到与你机器相应的版本,下载好上传到gitlab目录中,暂时先不安装
3.安装和配置相关依赖
yum install curl policycoreutils openssh-server openssh-clients -y systemctl enable sshd //开机自启动ssh程序 systemctl start sshd yum install postfix //安装邮件程序 systemctl enable postfix systemctl start postfix systemctl stop firewalld //关闭防火墙 systemctl disable firewalld //配置完相关依赖后我们安装下载好的安装包 cd /gitlab yum install gitlab-ce-16.2.4-ce.0.el7.x86_64.rpm —y 4.配置gitlab
gitlab-ctl reconfigure 5.登录
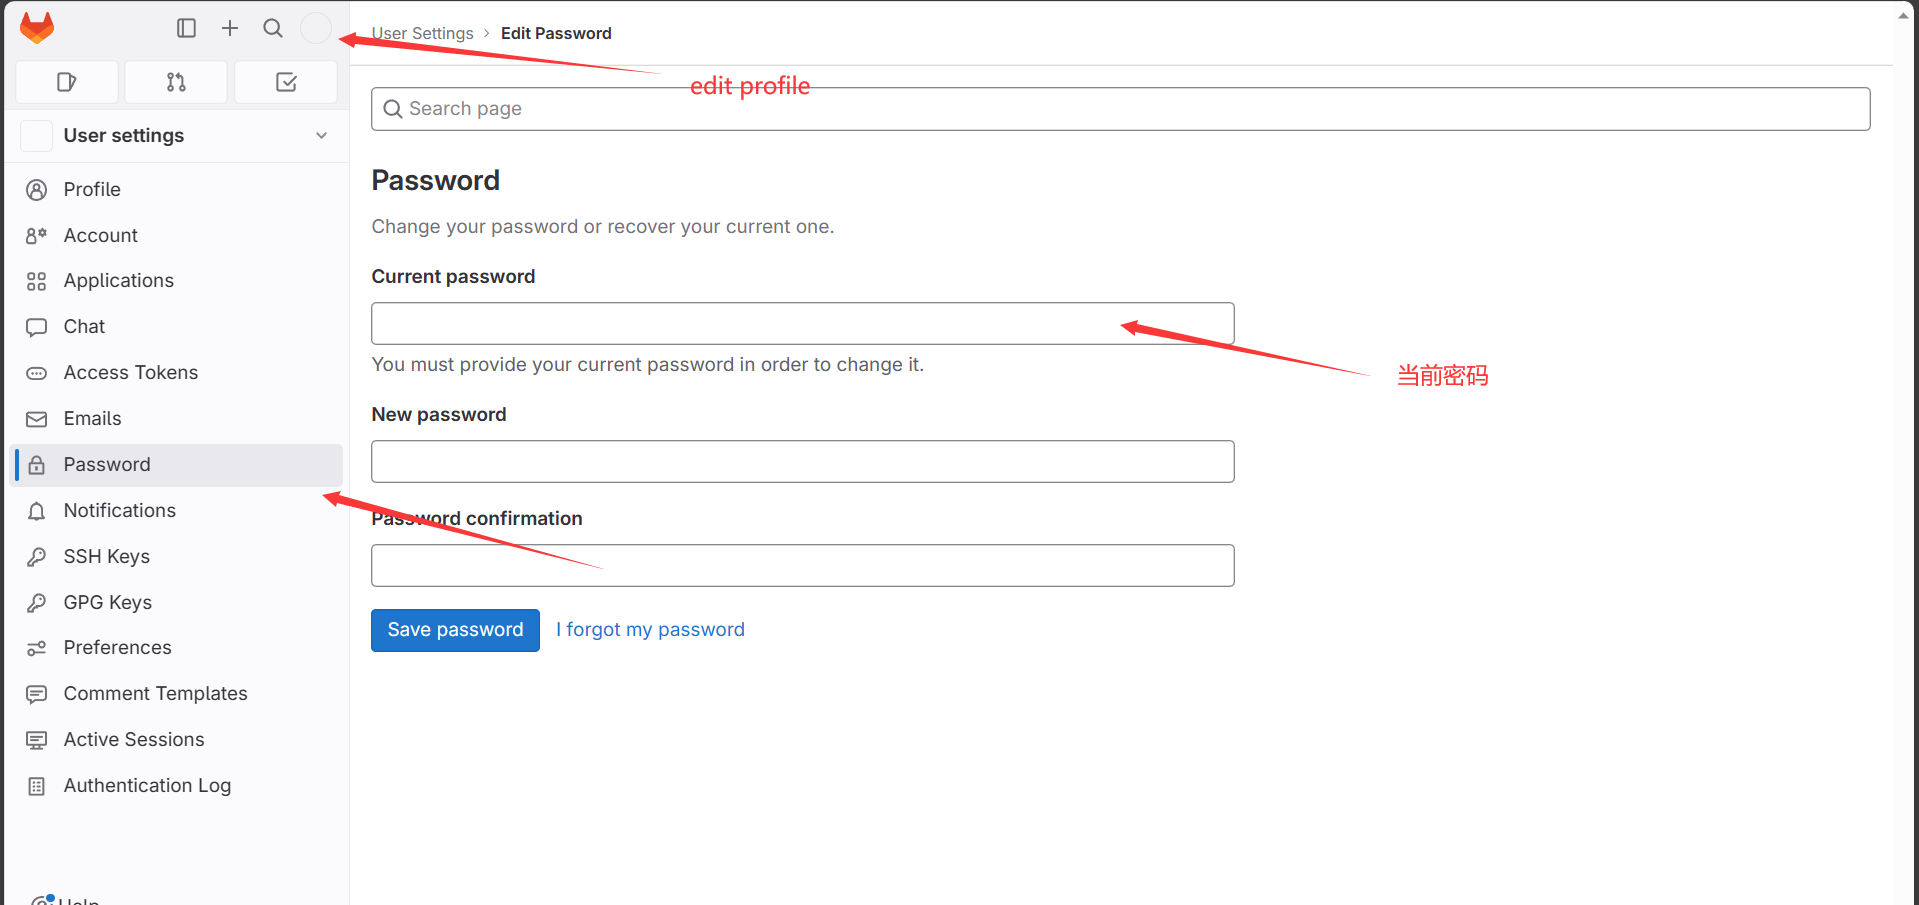
在上一步reconfigure之后会生成一个随机密码 cat /etc/gitlab/initial_root_password //查看随机密码 在浏览器输入服务器ip 来到gitlab登录页面,账号root,免密就是上述随机密码 修改密码:
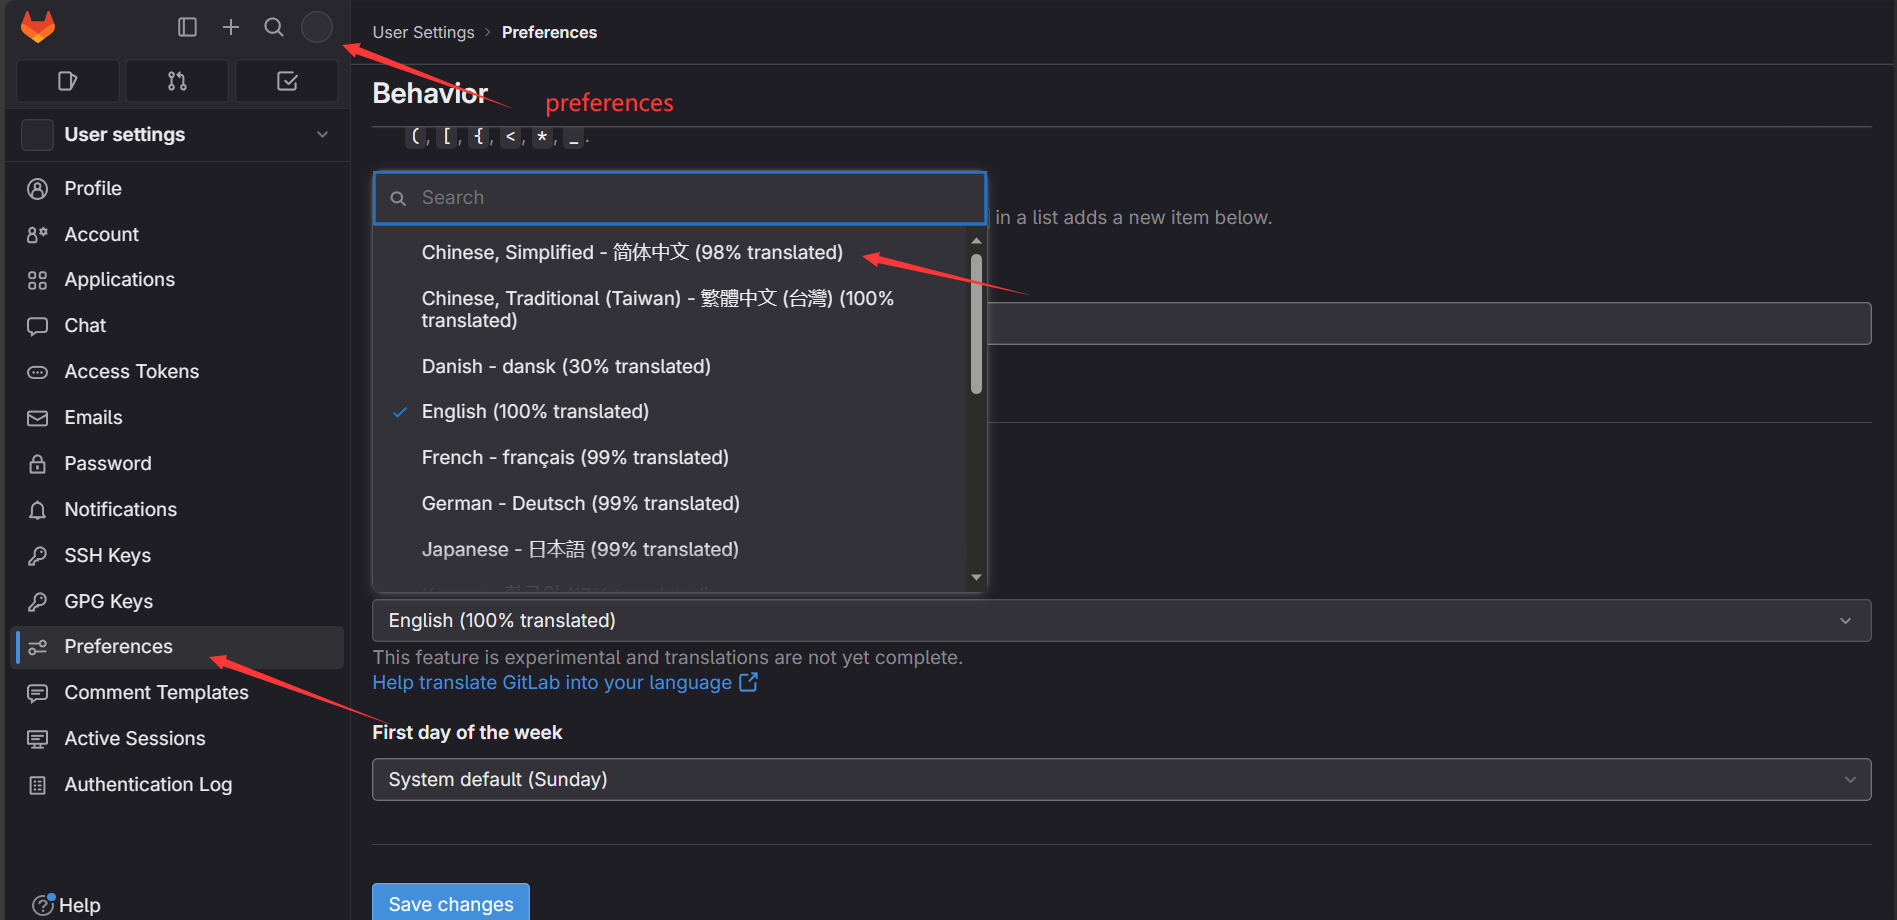
切换中文设置
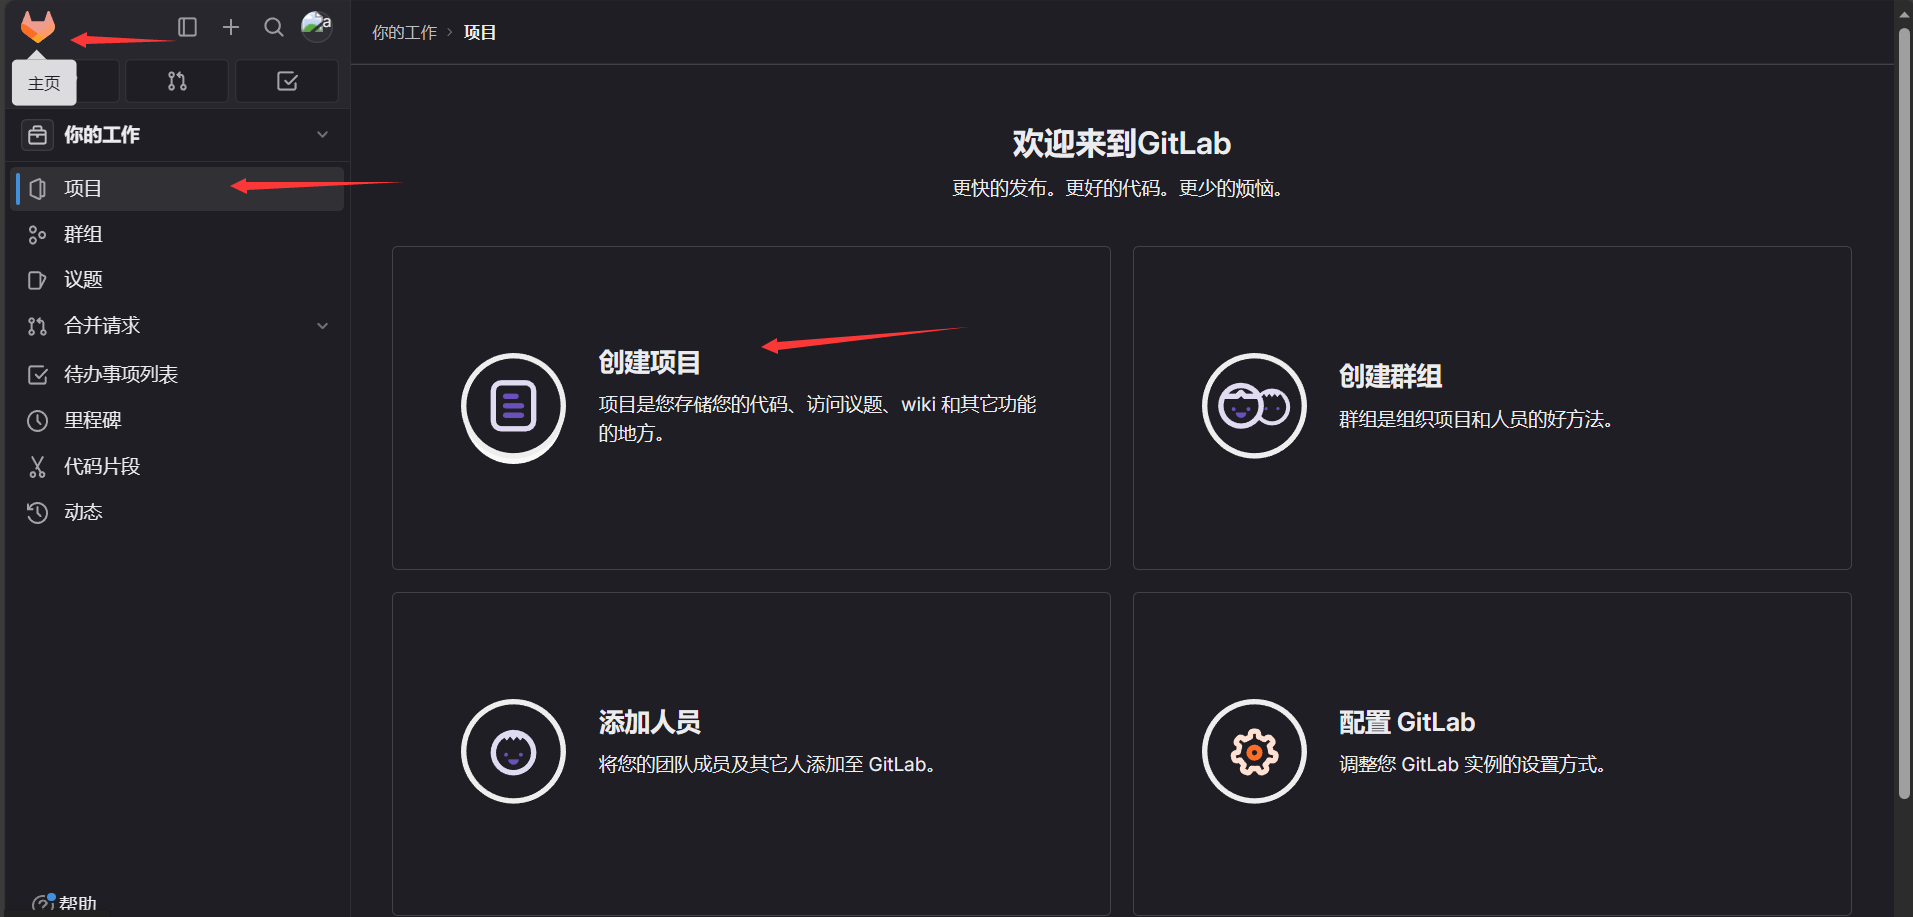
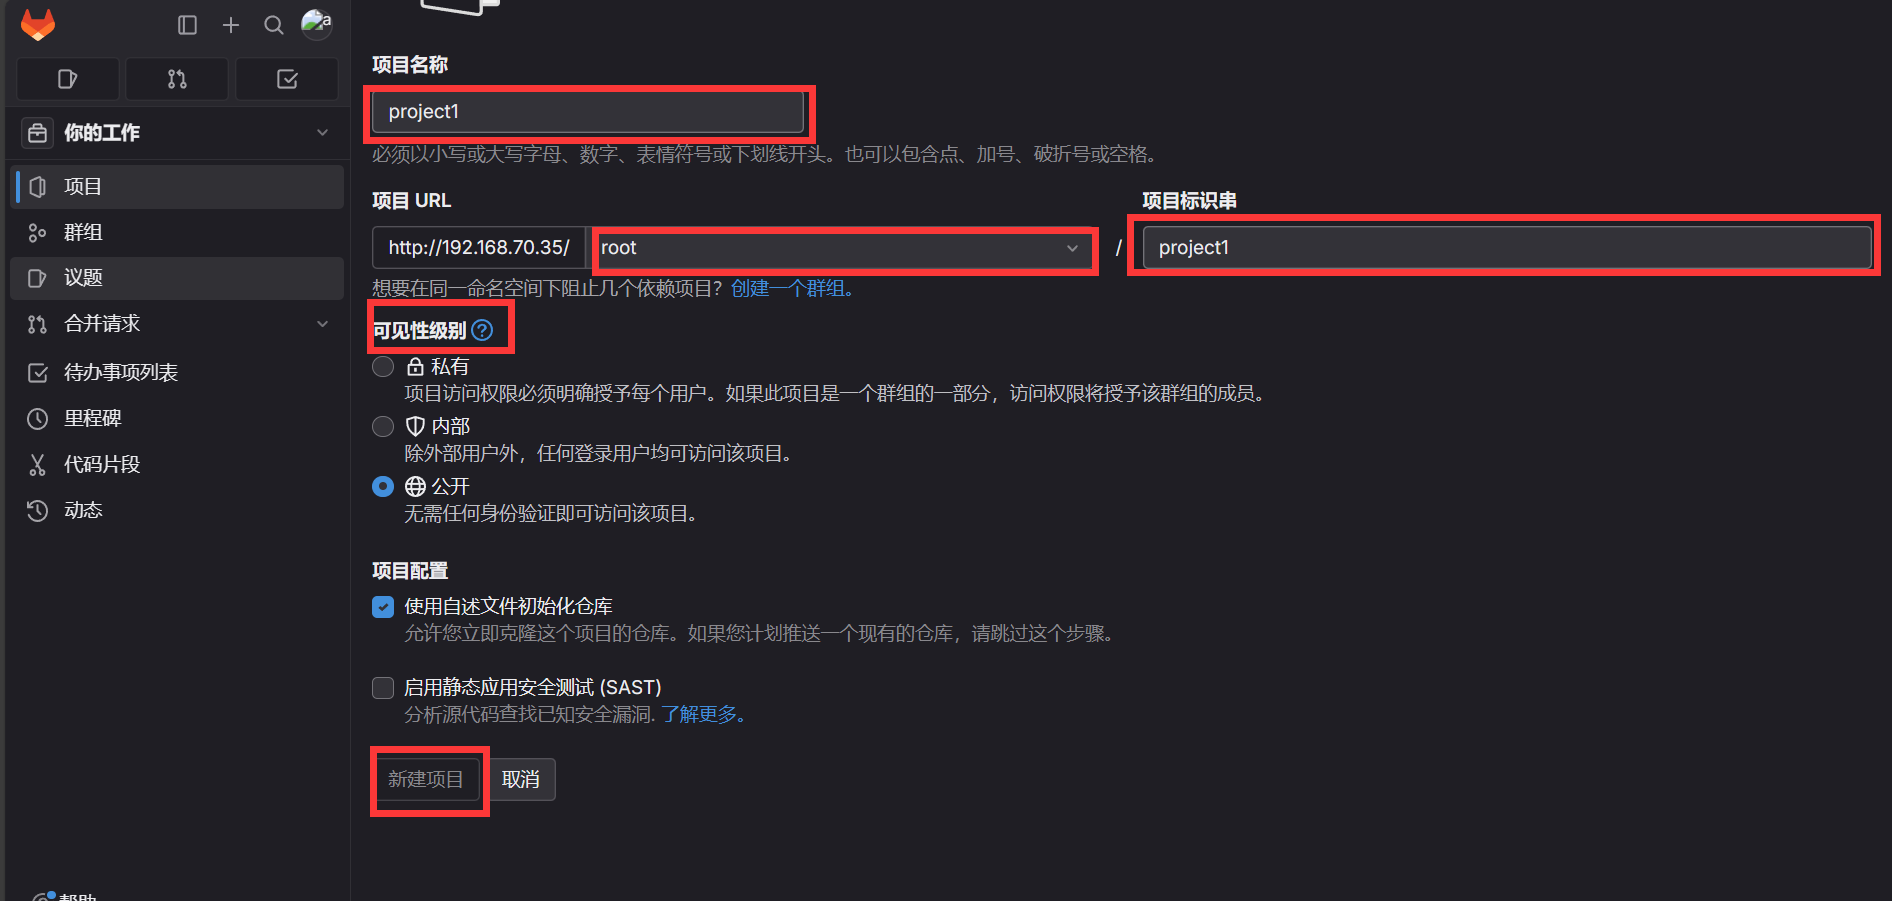
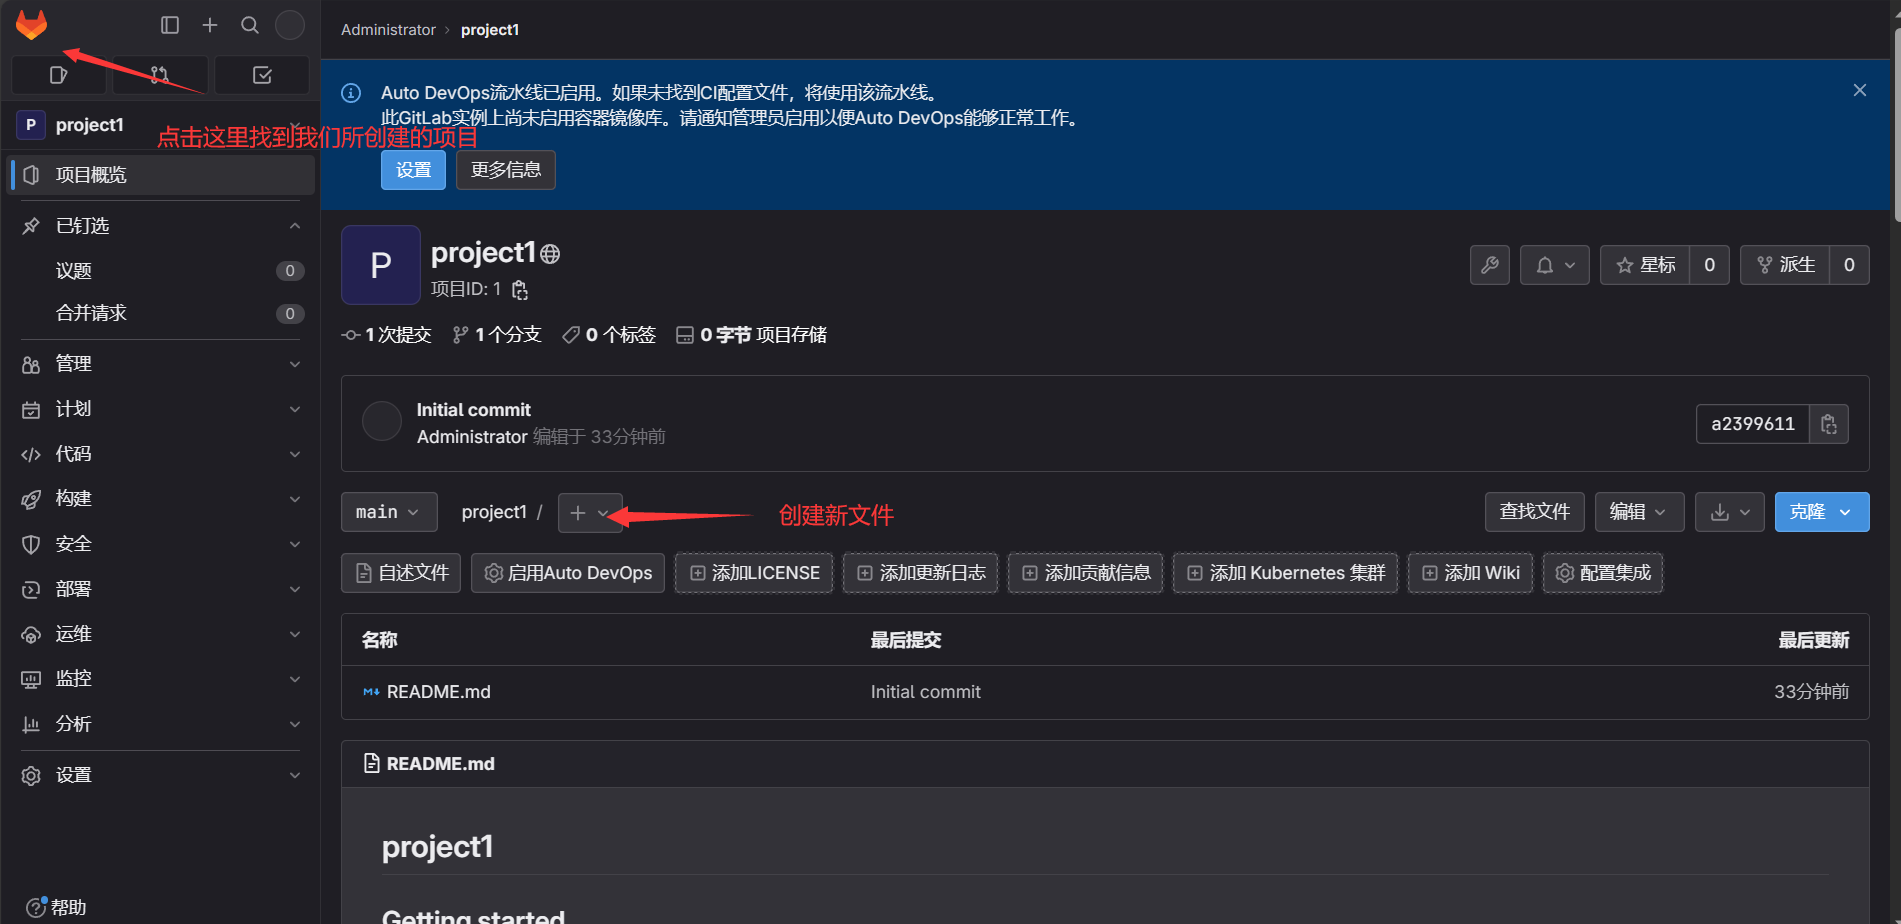
6.新建项目
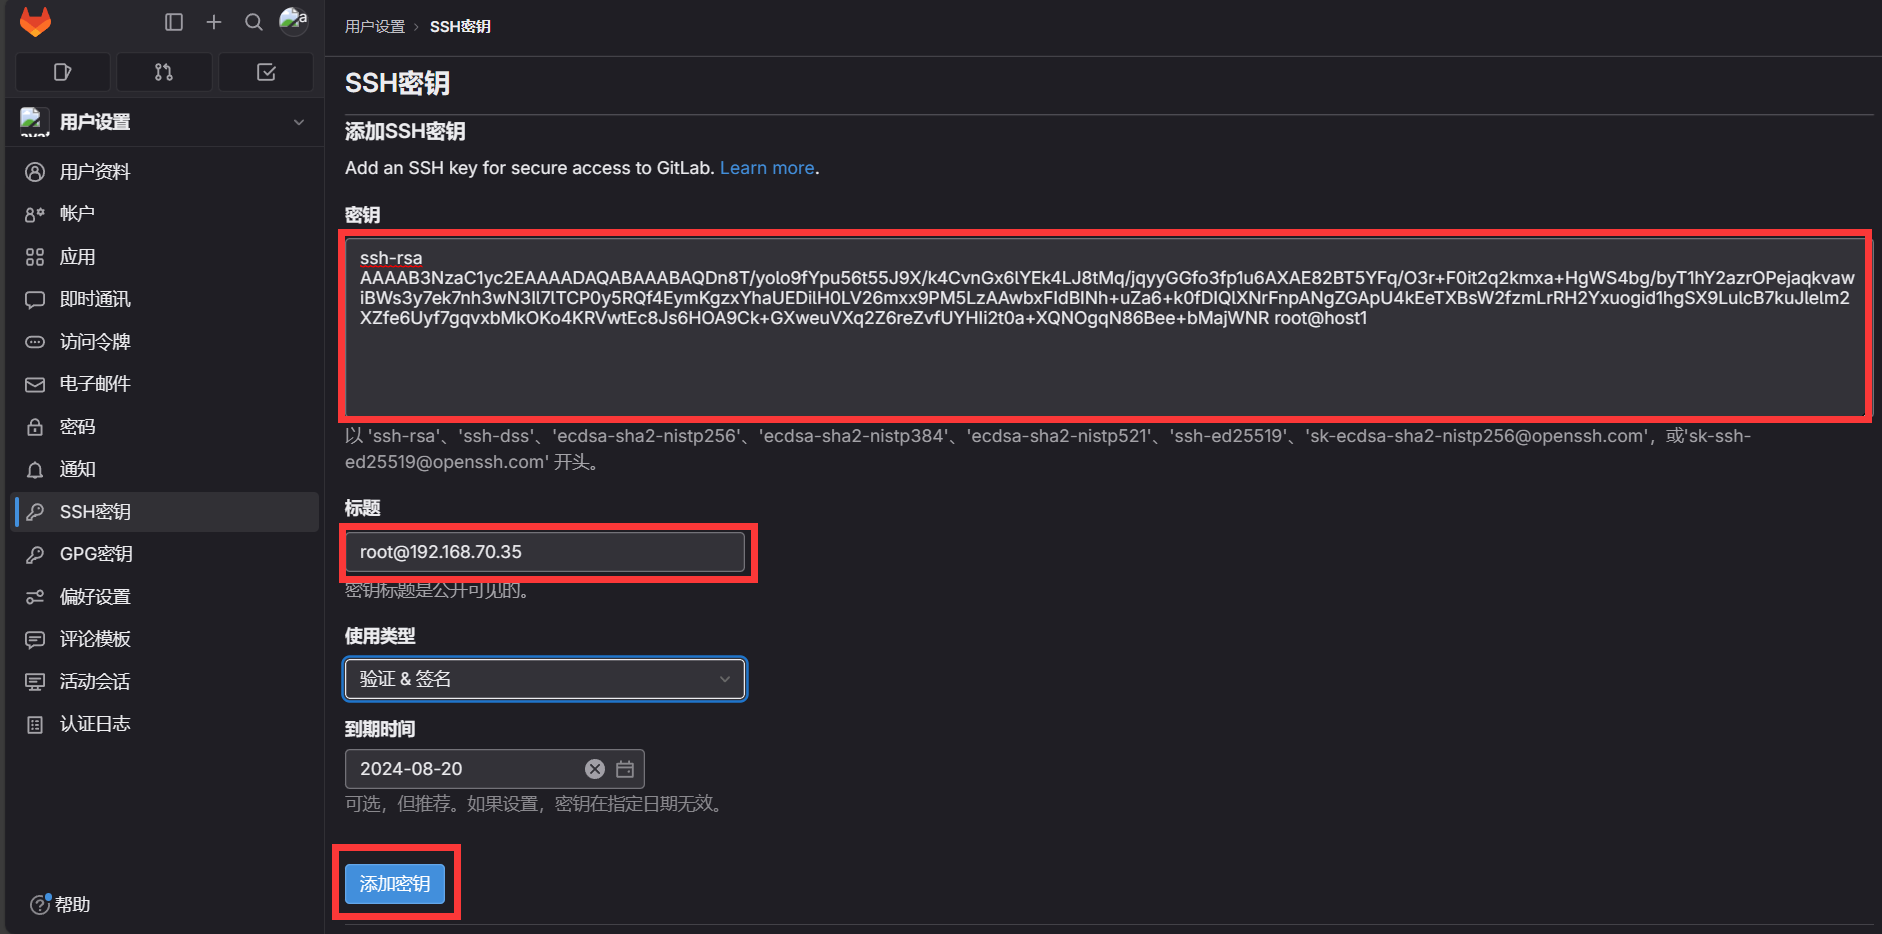
7.推送ssh密钥
[root@host1 ~]# ssh-keygen [root@host1 ~]# ls .ssh/ authorized_keys id_rsa id_rsa.pub [root@host1 .ssh]# cat id_rsa.pub //复制密钥 ssh-rsa AAAAB3NzaC1yc2EAAAADAQABAAABAQDn8T/yolo9fYpu56t55J9X/k4CvnGx6lYEk4LJ8tMq/jqyyGGfo3fp1u6AXAE82BT5YFq/O3r+F0it2q2kmxa+HgWS4bg/byT1hY2azrOPejaqkvawiBWs3y7ek7nh3wN3Il7lTCP0y5RQf4EymKgzxYhaUEDilH0LV26mxx9PM5LzAAwbxFIdBINh+uZa6+k0fDIQlXNrFnpANgZGApU4kEeTXBsW2fzmLrRH2Yxuogid1hgSX9LulcB7kuJlelm2XZfe6Uyf7gqvxbMkOKo4KRVwtEc8Js6HOA9Ck+GXweuVXq2Z6reZvfUYHIi2t0a+XQNOgqN86Bee+bMajWNR root@host1 
8.使用
8.1图形使用
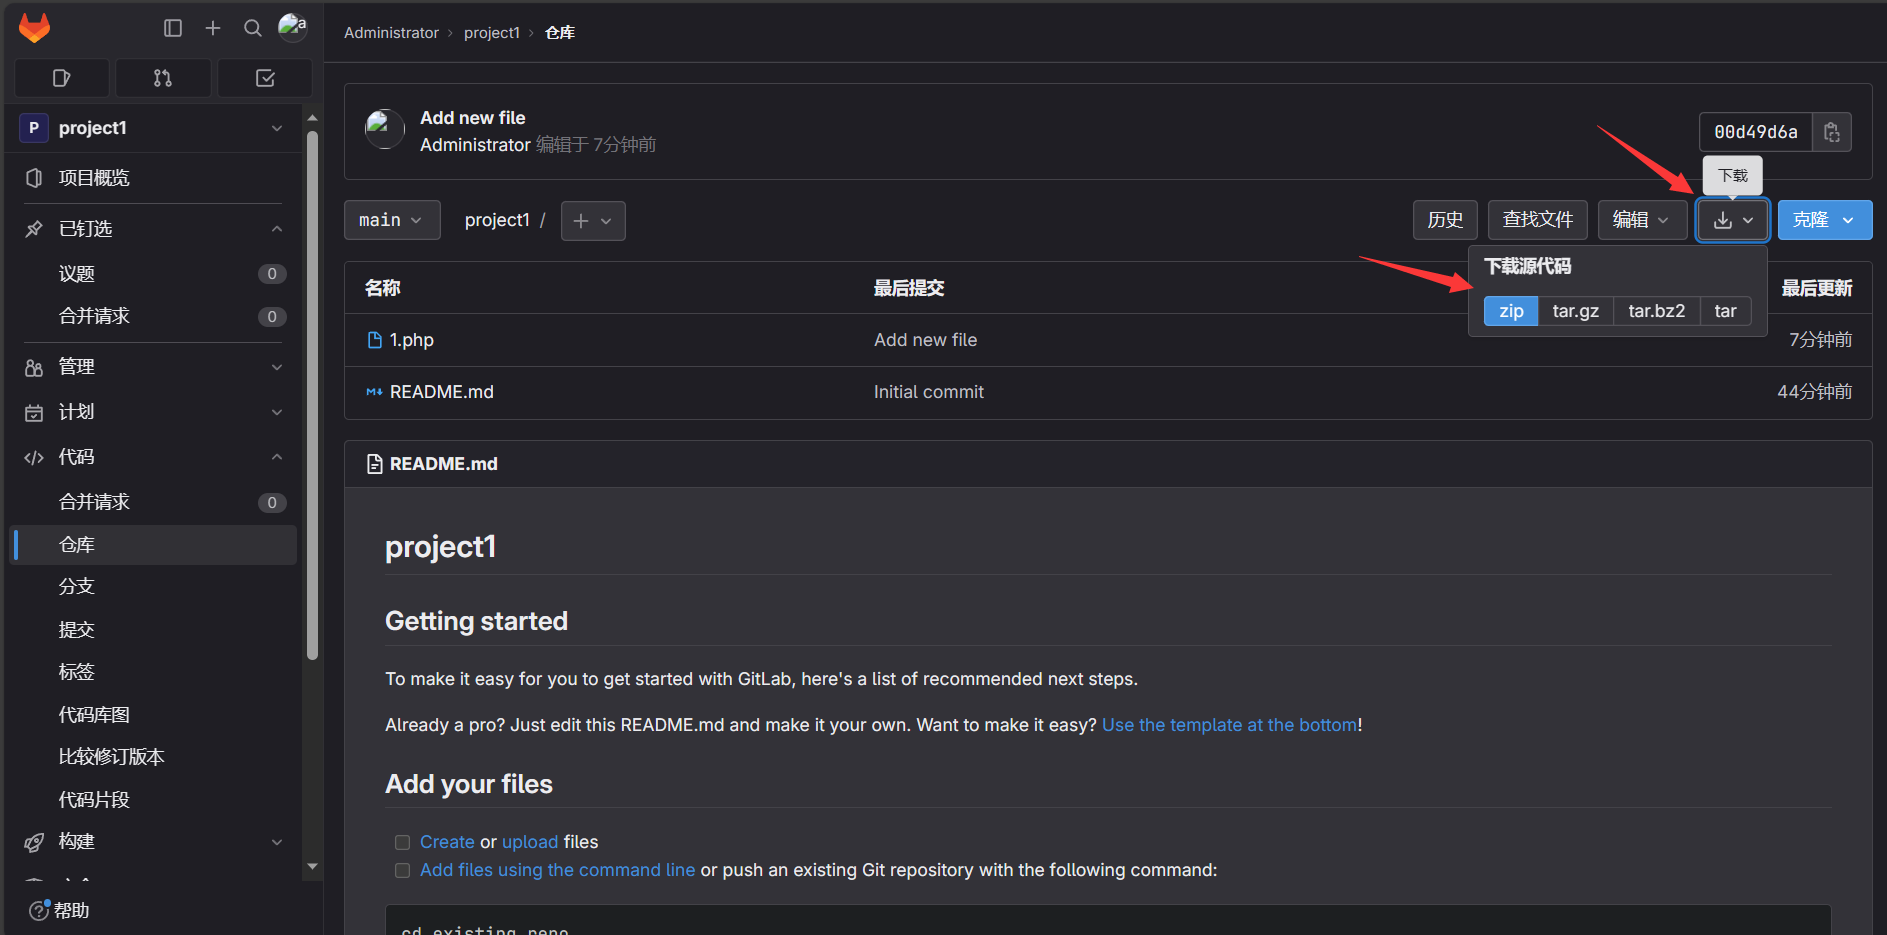
可以创建文件、上传文件、创建目录等...
8.2命令行操作
下载文件到gitlab客户端
vim /etc/hosts //做好域名解析 192.168.70.35 gitlab.example.com //设置提交代码时的用户信息 [root@host1 ~]# git config --global user.name "root" //登录用的账号 [root@host1 ~]# git config --global user.email "root@gitlab.example.com" //邮箱地址 //回到gitlab页面 找到我们的项目点击可镂选择复制ssh [root@host1 ~]# git clone git@gitlab.example.com:root/project1.git //下载项目 后续yes [root@host1 ~]# ll //可以看到项目已下载 总用量 8 -rw-r--r-- 1 root root 4 8月 20 21:07 1.txt -rw-------. 1 root root 1254 7月 4 11:20 anaconda-ks.cfg drwxr-xr-x 3 root root 48 8月 21 22:31 project1 上传文件
[root@host1 project1]# echo "hello gitlab" > 1.txt //创建一个文件用于上传文件测试 [root@host1 project1]# git init //在当前目录新建一个Git代码库 [root@host1 project1]# git remote add origin git@gitlab.example.com:root/project1.git //增加一个新的远程仓库,并命名 为origin [root@host1 project1]# git add . [root@host1 project1]# git commit -m 'Commit message' //-m 后面接提交信息 [root@host1 project1]# git branch //查看我们分支 * main [root@host1 project1]# git push -u origin main //回到gitlab页面查看验证 


