- A+
版本控制gitlab
版本控制介绍
版本控制是指对软件开发过程中各种程序代码、配置文件及说明文档等文件变更的管理,是软件配置管理的核心思想之一。
版本控制最主要的功能就是追踪文件的变更。它将什么时候、什么人更改了文件的什么内容等信息忠实地了记录下来。每一次文件的改变,文件的版本号都将增加。除了记录版本变更外,版本控制的另一个重要功能是并行开发。软件开发往往是多人协同作业,版本控制可以有效地解决版本的同步以及不同开发者之间的开发通信问题,提高协同开发的效率。并行开发中最常见的不同版本软件的错误(Bug)修正问题也可以通过版本控制中分支与合并的方法有效地解决。
具体来说,在每一项开发任务中,都需要首先设定开发基线,确定各个配置项的开发初始版本,在开发过程中,开发人员基于开发基线的版本,开发出所需的目标版本。当发生需求变更时,通过对变更的评估,确定变更的影响范围,对被影响的配置项的版本进行修改,根据变更的性质使配置项的版本树继续延伸或产生新的分支,形成新的目标版本,而对于不受变更影响的配置项则不应发产生变动。同时,应能够将变更所产生的对版本的影响进行记录和跟踪。必要时还可以回退到以前的版本。例如当开发需求或需求变更被取消时,就需要有能力将版本回退到开发基线版本。在曾经出现过的季度升级包拆包和重新组包的过程中,其实就是将部分配置项的版本回退到开发基线,将对应不同需求的不同分支重新组合归并,形成新的升级包版本。
版本控制是软件配置管理的核心功能。所有置于配置库中的元素都应自动予以版本的标识,并保证版本命名的唯一性。版本在生成过程中,自动依照设定的使用模型自动分支、演进。除了系统自动记录的版本信息以外,为了配合软件开发流程的各个阶段。还需要定义、收集一些元数据来记录版本的辅助信息和规范开发流程,并为今后对软件过程的度量做好准备。当然如果选用的工具支持,这些辅助数据将能直接统计出过程数据,从而方便软件过程改进活动的进行。对于配置库中的各个基线控制项,应该根据其基线的位置和状态来设置相应的访问权限。一般来说,对于基线版本之前的各个版本都应处于被锁定的状态,如需要对它们进行变更,则应按照变更控制的流程来进行操作。
常用的版本控制工具:
itlab 公司服务器搭建,用来存放开发人员的代码
svn (subversion):是一个自由开源的版本控制系统
文件和目录可以超越时空。Subversion将文件存放在中心版本库里,这个版本库很像一个普通的文件服务器,不同的是,它可以记录每一次文件和目录的修改情况,这样就可以借此将数据恢复到以前的版本,并可以查看数据的更改细节
github 国外
码云gitee 国内
gitlab部署
部署需要至少4GB内存运行,虚拟机内核也作一下调整,如果不够尽量调制最高,方便后面编译
需要的依赖包
pkgs官网
policycoreutils-python
清华大学官网
gitlab-ce
配置yum源: [root@localhost ~]# cd /etc/yum.repos.d/ [root@localhost yum.repos.d]# rm -rf * [root@localhost yum.repos.d]# wget /etc/yum.repos.d/CentOS-Base.repo https://mirrors.aliyun.com/repo/Centos-vault-8.5.2111.repo [root@localhost yum.repos.d]# sed -i -e '/mirrors.cloud.aliyuncs.com/d' -e '/mirrors.aliyuncs.com/d' /etc/yum.repos.d/CentOS-Base.repo 配置epel源: [root@localhost yum.repos.d]# yum install -y https://mirrors.aliyun.com/epel/epel-release-latest-8.noarch.rpm [root@localhost yum.repos.d]# sed -i 's|^#baseurl=https://download.example/pub|baseurl=https://mirrors.aliyun.com|' /etc/yum.repos.d/epel* [root@localhost yum.repos.d]# sed -i 's|^metalink|#metalink|' /etc/yum.repos.d/epel* 关闭防火墙: [root@localhost ~]# systemctl stop firewalld.service [root@localhost ~]# vim /etc/selinux/config SELINUX=disabled [root@localhost ~]# setenforce 0 [root@localhost ~]# systemctl disable firewalld.service Removed /etc/systemd/system/multi-user.target.wants/firewalld.service. Removed /etc/systemd/system/dbus-org.fedoraproject.FirewallD1.service. 卸载依赖包: [root@localhost ~]# dnf -y remove policycoreutils 安装依赖包: [root@localhost ~]# wget http://mirror.centos.org/centos/7/os/x86_64/Packages/policycoreutils-python-2.5-34.el7.x86_64.rpm https://mirrors.tuna.tsinghua.edu.cn/gitlab-ce/yum/el7/gitlab-ce-15.3.3-ce.0.el7.x86_64.rpm [root@localhost ~]# ls anaconda-ks.cfg gitlab-ce-15.3.3-ce.0.el7.x86_64.rpm policycoreutils-python-2.5-34.el7.x86_64.rpm [root@localhost ~]# dnf -y install epel-release git curl openssh-server openssh-clients postfix cronie perl 安装policycoreutils-python: [root@localhost ~]# rpm -ivh --nodeps policycoreutils-python-2.5-34.el7.x86_64.rpm warning: policycoreutils-python-2.5-34.el7.x86_64.rpm: Header V3 RSA/SHA256 Signature, key ID f4a80eb5: NOKEY Verifying... ################################# [100%] Preparing... ################################# [100%] Updating / installing... 1:policycoreutils-python-2.5-34.el7################################# [100%] 安装gitlab-ce: [root@localhost ~]# rpm -ivh gitlab-ce-15.3.3-ce.0.el7.x86_64.rpm warning: gitlab-ce-15.3.3-ce.0.el7.x86_64.rpm: Header V4 RSA/SHA1 Signature, key ID f27eab47: NOKEY Verifying... ################################# [100%] Preparing... ################################# [100%] Updating / installing... 1:gitlab-ce-15.3.3-ce.0.el7 ################################# [100%] It looks like GitLab has not been configured yet; skipping the upgrade script. *. *. *** *** ***** ***** .****** ******* ******** ******** ,,,,,,,,,***********,,,,,,,,, ,,,,,,,,,,,*********,,,,,,,,,,, .,,,,,,,,,,,*******,,,,,,,,,,,, ,,,,,,,,,*****,,,,,,,,,. ,,,,,,,****,,,,,, .,,,***,,,, ,*,. _______ __ __ __ / ____(_) /_/ / ____ _/ /_ / / __/ / __/ / / __ `/ __ / /_/ / / /_/ /___/ /_/ / /_/ / ____/_/__/_____/__,_/_.___/ Thank you for installing GitLab! GitLab was unable to detect a valid hostname for your instance. Please configure a URL for your GitLab instance by setting `external_url` configuration in /etc/gitlab/gitlab.rb file. Then, you can start your GitLab instance by running the following command: sudo gitlab-ctl reconfigure For a comprehensive list of configuration options please see the Omnibus GitLab readme https://gitlab.com/gitlab-org/omnibus-gitlab/blob/master/README.md Help us improve the installation experience, let us know how we did with a 1 minute survey: https://gitlab.fra1.qualtrics.com/jfe/form/SV_6kVqZANThUQ1bZb?installation=omnibus&release=15-3 启动postfix服务并设置开机自启: [root@localhost ~]# systemctl enable --now postfix Created symlink /etc/systemd/system/multi-user.target.wants/postfix.service → /usr/lib/systemd/system/postfix.service. 修改配置文件: [root@localhost ~]# vim /etc/gitlab/gitlab.rb external_url 'http://192.168.222.250' //修改为主机的ip 重载配置文件并重启gitlab: 第一次需要等好一会 [root@localhost ~]# export LANG=en_US.UTF-8 [root@localhost ~]# bash [root@localhost ~]# gitlab-ctl reconfigure .... [2022-09-23T04:44:16+08:00] INFO: Running report handlers Running handlers complete [2022-09-23T04:44:16+08:00] INFO: Report handlers complete Infra Phase complete, 0/778 resources updated in 19 seconds gitlab Reconfigured! [root@localhost ~]# ss -antl //有差不多24个端口 State Recv-Q Send-Q Local Address:Port Peer Address:Port Process LISTEN 0 1024 127.0.0.1:9121 0.0.0.0:* LISTEN 0 1024 127.0.0.1:9090 0.0.0.0:* LISTEN 0 1024 127.0.0.1:9187 0.0.0.0:* LISTEN 0 1024 127.0.0.1:9093 0.0.0.0:* LISTEN 0 1024 127.0.0.1:9100 0.0.0.0:* LISTEN 0 1024 127.0.0.1:9229 0.0.0.0:* LISTEN 0 128 127.0.0.1:9168 0.0.0.0:* LISTEN 0 1024 127.0.0.1:8080 0.0.0.0:* LISTEN 0 511 0.0.0.0:80 0.0.0.0:* LISTEN 0 128 127.0.0.1:8082 0.0.0.0:* LISTEN 0 128 127.0.0.1:9236 0.0.0.0:* LISTEN 0 1024 127.0.0.1:8150 0.0.0.0:* LISTEN 0 128 0.0.0.0:22 0.0.0.0:* LISTEN 0 1024 127.0.0.1:8151 0.0.0.0:* LISTEN 0 1024 127.0.0.1:8153 0.0.0.0:* LISTEN 0 100 127.0.0.1:25 0.0.0.0:* LISTEN 0 1024 127.0.0.1:8154 0.0.0.0:* LISTEN 0 1024 127.0.0.1:8155 0.0.0.0:* LISTEN 0 128 127.0.0.1:8092 0.0.0.0:* LISTEN 0 511 0.0.0.0:8060 0.0.0.0:* LISTEN 0 1024 *:9094 *:* LISTEN 0 128 [::1]:9168 [::]:* LISTEN 0 128 [::]:22 [::]:* LISTEN 0 100 [::1]:25 [::]:* [root@localhost ~]# gitlab-ctl restart ok: run: alertmanager: (pid 151481) 1s ok: run: gitaly: (pid 151496) 1s ok: run: gitlab-exporter: (pid 151526) 0s ok: run: gitlab-kas: (pid 151566) 1s ok: run: gitlab-workhorse: (pid 151595) 0s ok: run: logrotate: (pid 151619) 1s ok: run: nginx: (pid 151637) 0s ok: run: node-exporter: (pid 151645) 1s ok: run: postgres-exporter: (pid 151671) 0s ok: run: postgresql: (pid 151680) 0s ok: run: prometheus: (pid 151726) 1s ok: run: puma: (pid 151986) 0s ok: run: redis: (pid 152046) 1s ok: run: redis-exporter: (pid 152056) 0s ok: run: sidekiq: (pid 152205) 0s 查看当前的gitlab版本: [root@localhost ~]# head -1 /opt/gitlab/version-manifest.txt gitlab-ce 15.3.3 破解管理员密码: [root@localhost ~]# gitlab-rails console -e production -------------------------------------------------------------------------------- Ruby: ruby 2.7.5p203 (2021-11-24 revision f69aeb8314) [x86_64-linux] GitLab: 15.3.3 (c629a47f87f) FOSS GitLab Shell: 14.10.0 PostgreSQL: 13.6 ------------------------------------------------------------[ booted in 45.73s ] Loading production environment (Rails 6.1.6.1) irb(main):001:0> user = User.where(id: 1).first //id为1的是超级管理员 => #<User id:1 @root> irb(main):002:0> user.password='xbz123456' //密码必须至少8个字符 => "xbz123456" irb(main):003:0> user.password_confirmation ="xbz123456" => "xbz123456" irb(main):004:0> user.save! //保存修改,若无问题将返回true => true irb(main):005:0> exit //退出 访问:
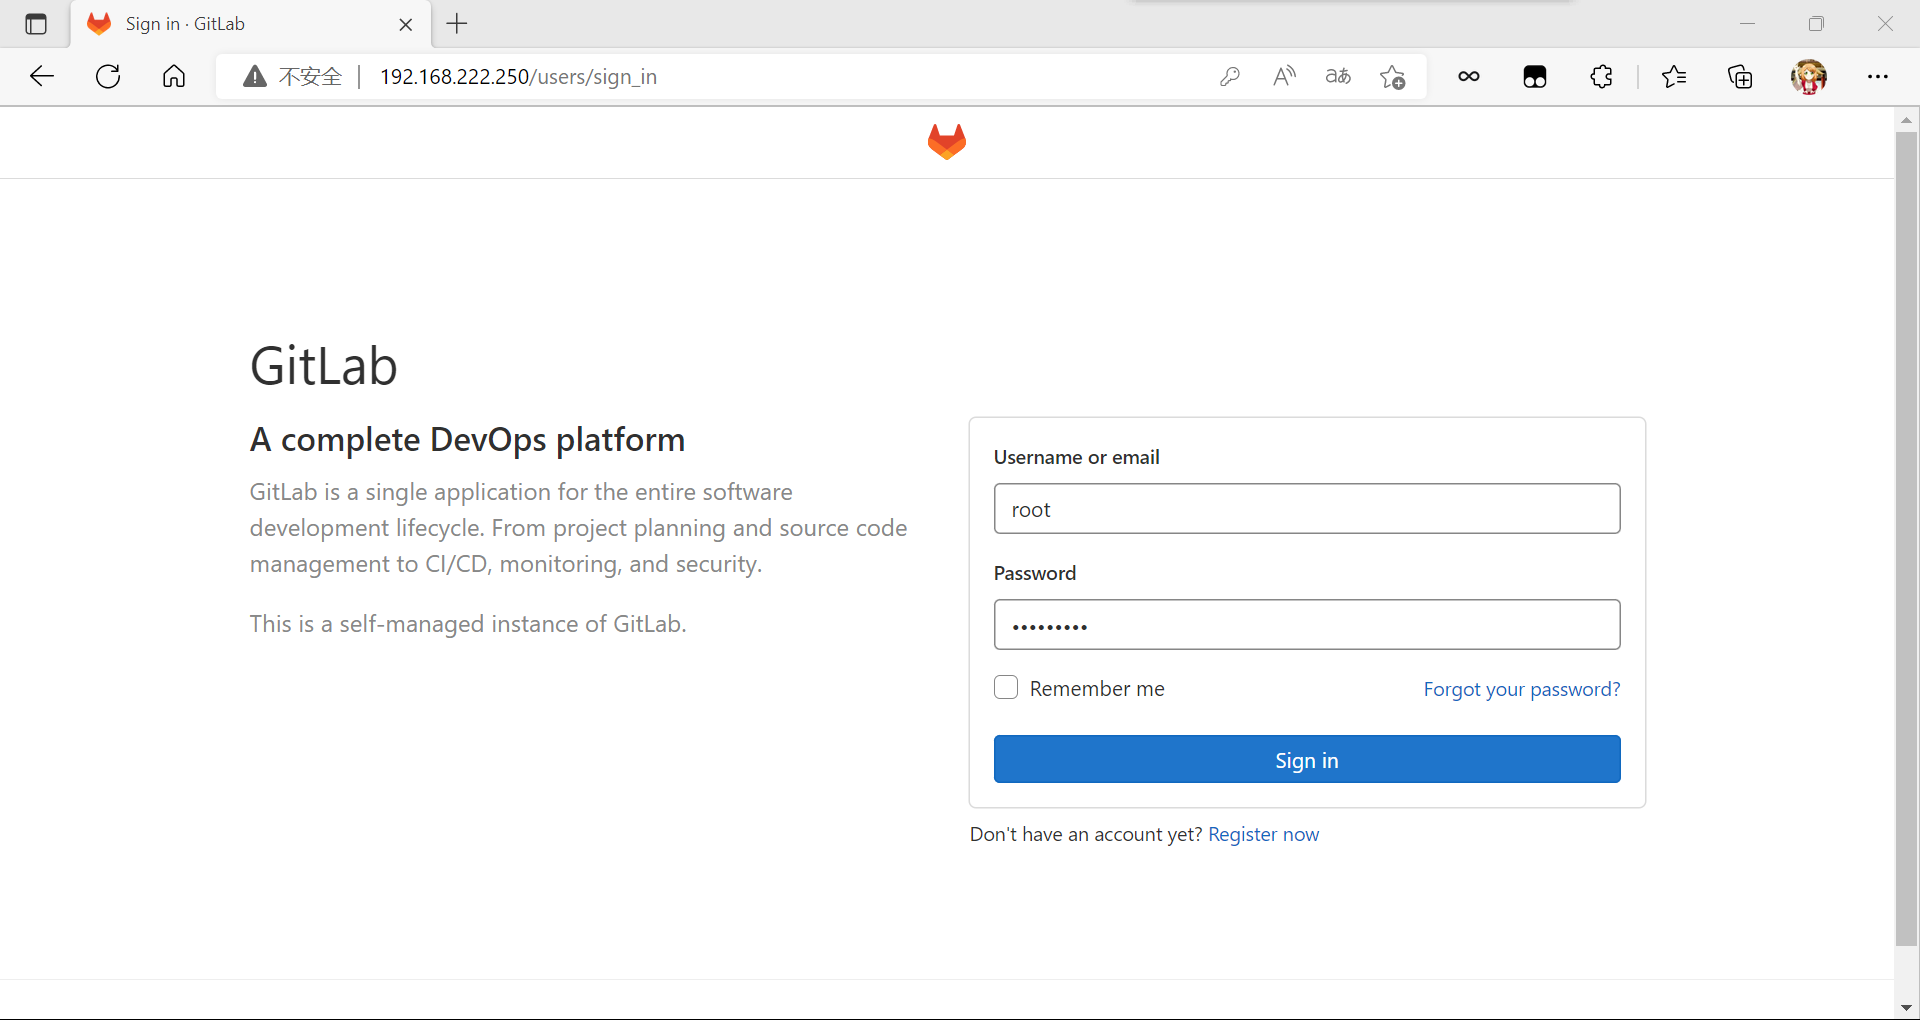
登录界面

输入管理员用户以及刚刚设置的密码